|
All About Old Toys
|
![]()
![]()
![]()
Re-Hairing Scarey Anns
by Jim Sneed
![]()
![]()
![]()
![]()
![]()
![]()
![]()
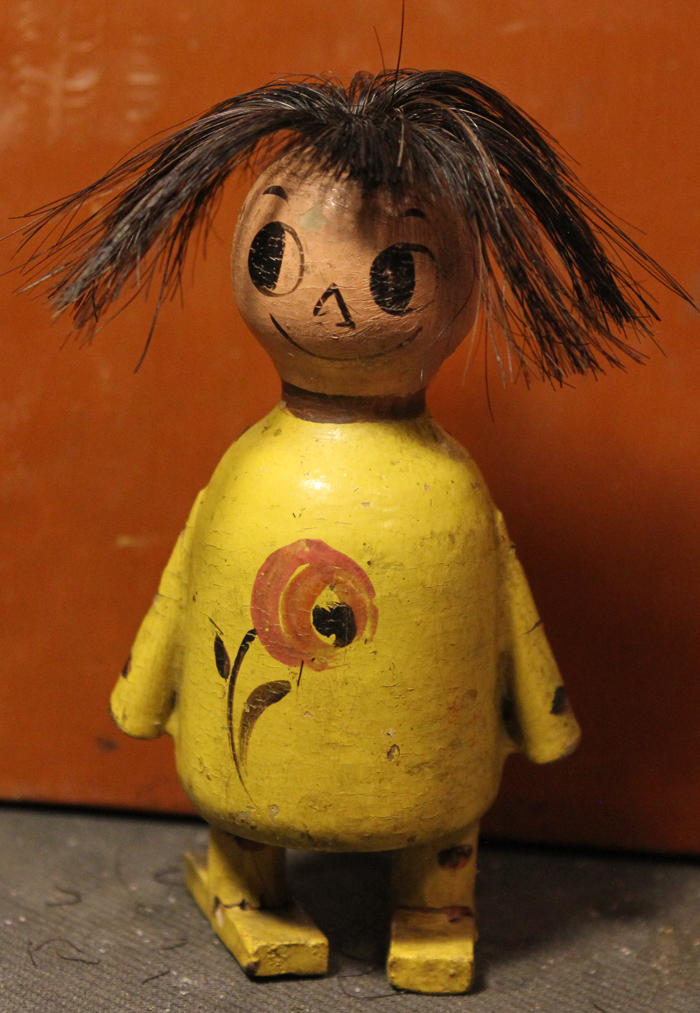
| Often Scarey Anns are found
missing some or all of their original hair. Replacing the remaining
hair with new horse hair is not a difficult proceedure if you have the
hair and some small tools. Below is a guideline for re-hairing. Click on the thumbnail image to see a larger picture. |
|
| 1. Here is our Ann. Without her hair, she is not scarey. |
 |
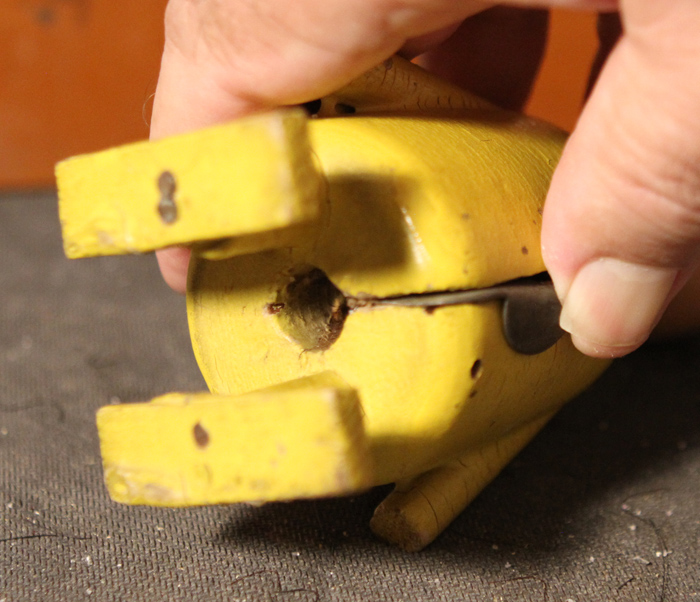
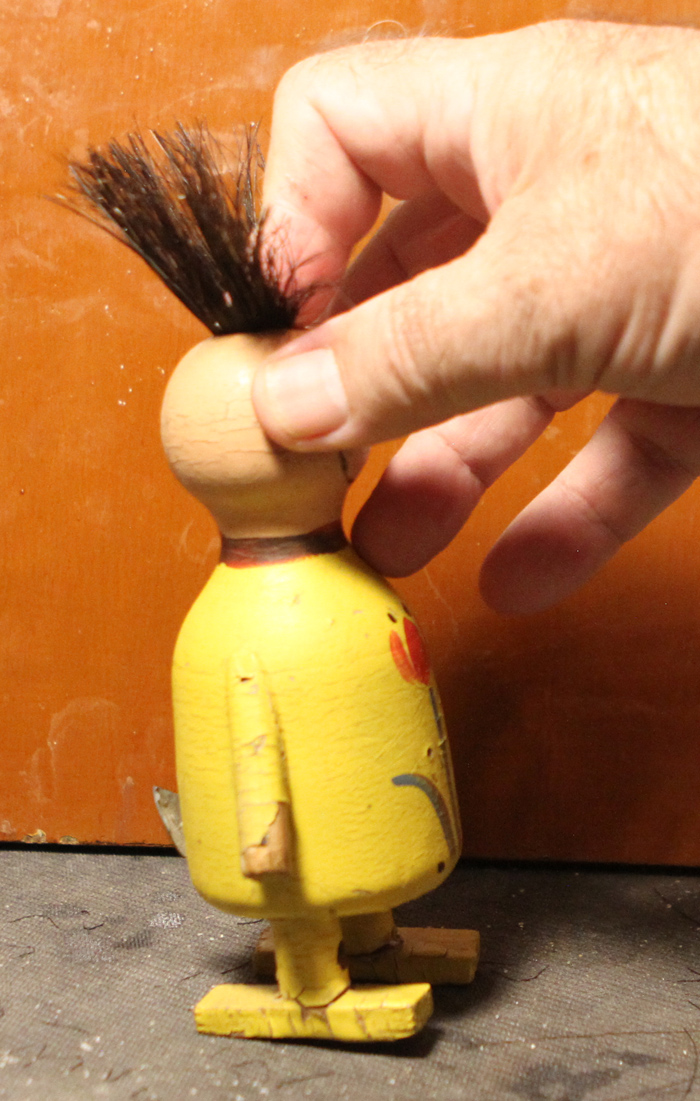
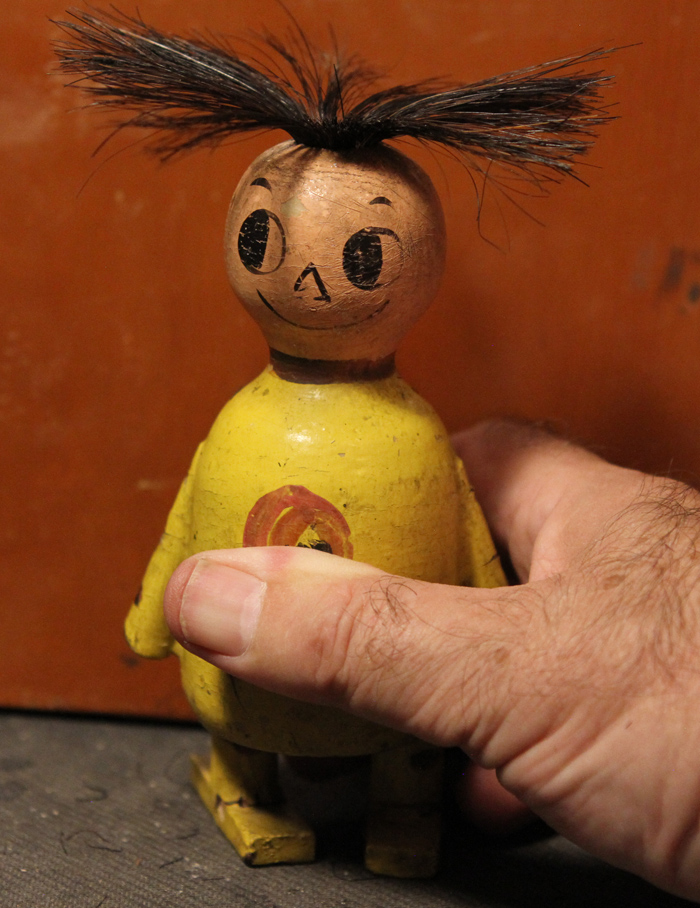
| 2. As long as she still has her internal hair-raising mechanism, she can have her hair replaced. Here I am pressing on the operating lever. |
 |
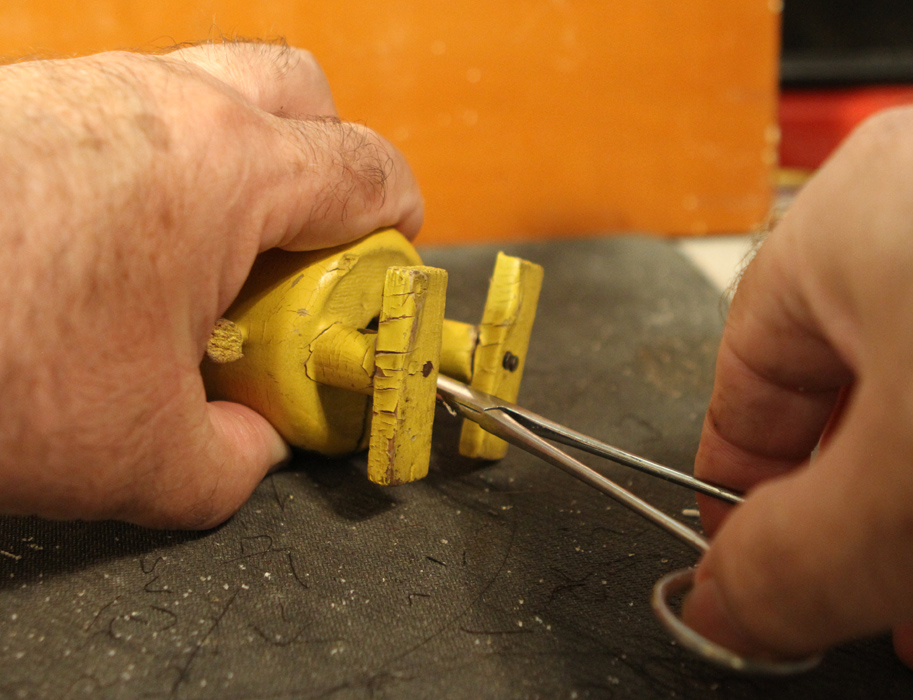
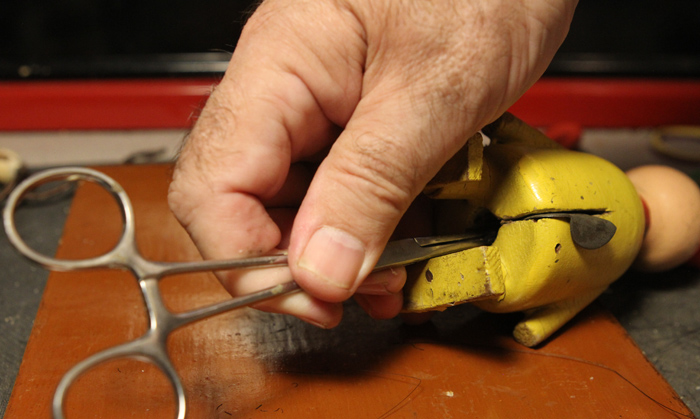
| 3. The first step is to separate the internal metal rod from the operating lever. A flashlight with a dim setting is helpful to see inside. I am using a straight hemostat to grab the rod and while hold the lever against the body, I pull the rod out of its lever slot. This is easier than it sounds. |
 |
| 4. Once separated from the lever, the internal mechanism can be removed from the Ann's head. |
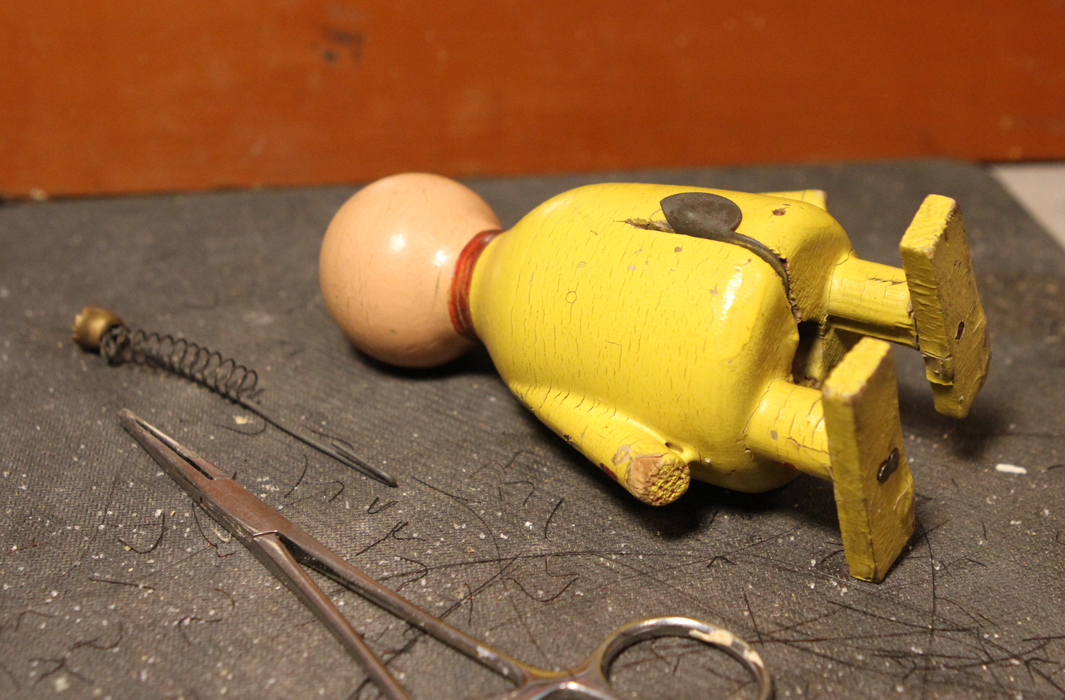 |
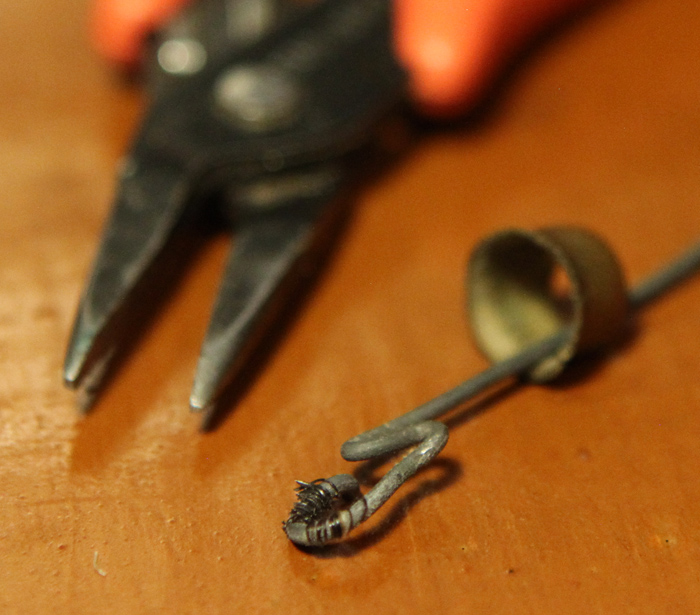
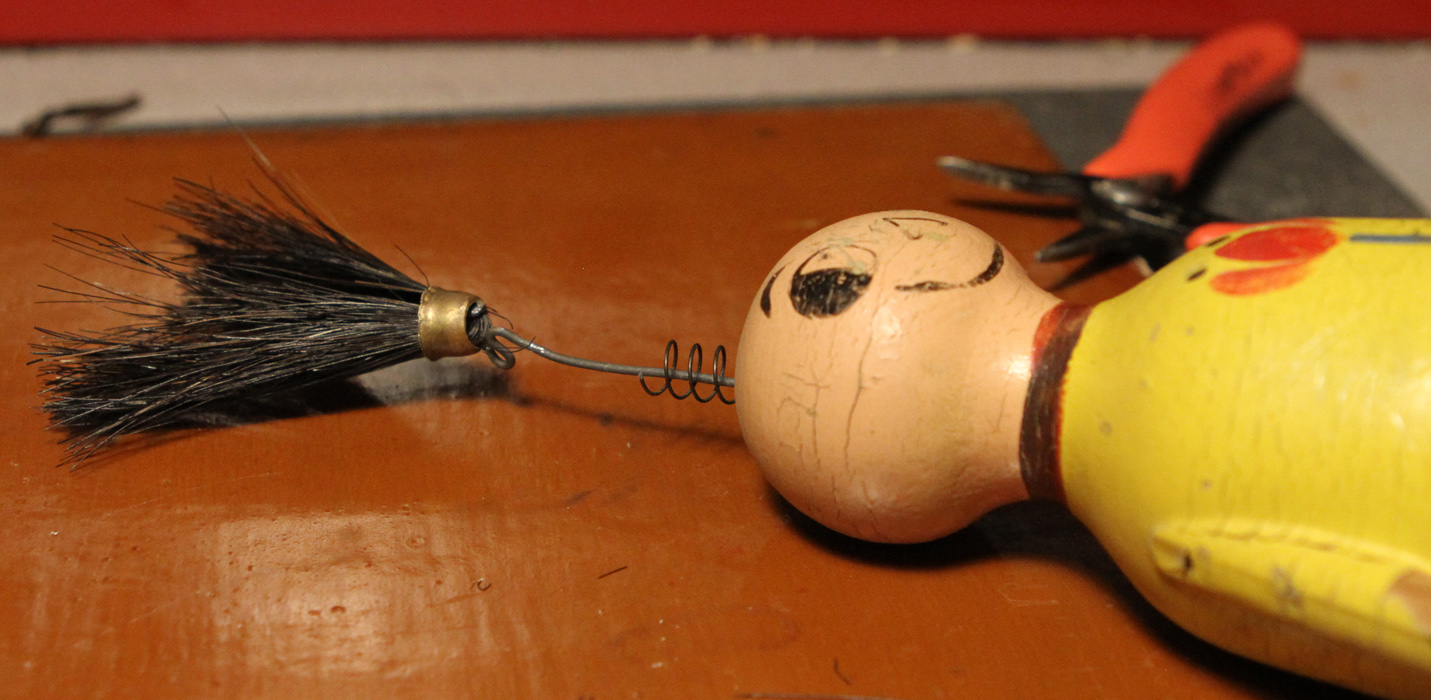
| 5. The mechanism consists of 3 parts - the shaped metal rod, a brass hair holding cup, and a return spring. |
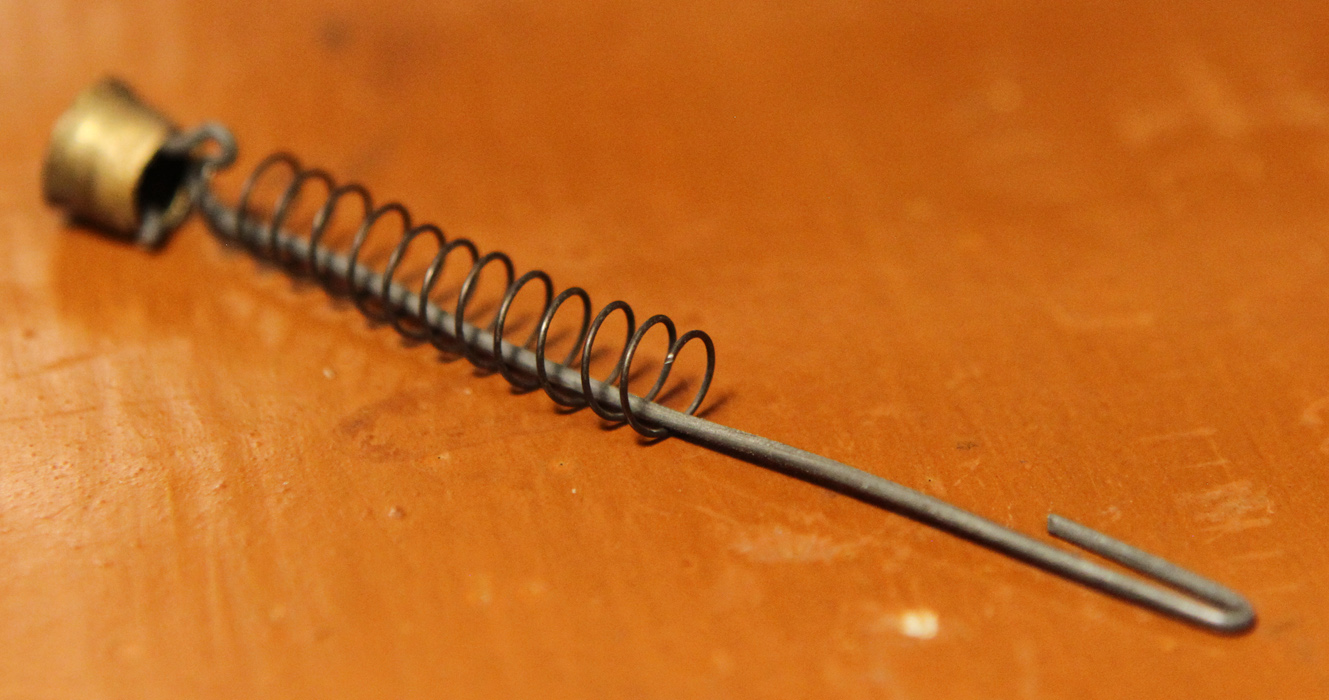 |
| 6. The rod is bent in such a way that it will hold the hair in the cup. |
 |
| 7. Using a hobby-sized needle-nosed pliers, bend the rod tip to release the cup. |
 |
| 8. Next, clean out all of the old hair that's in the cup. | |
| 9. Now take a bunch of medium coarse horse hair at least 4 inches long. |
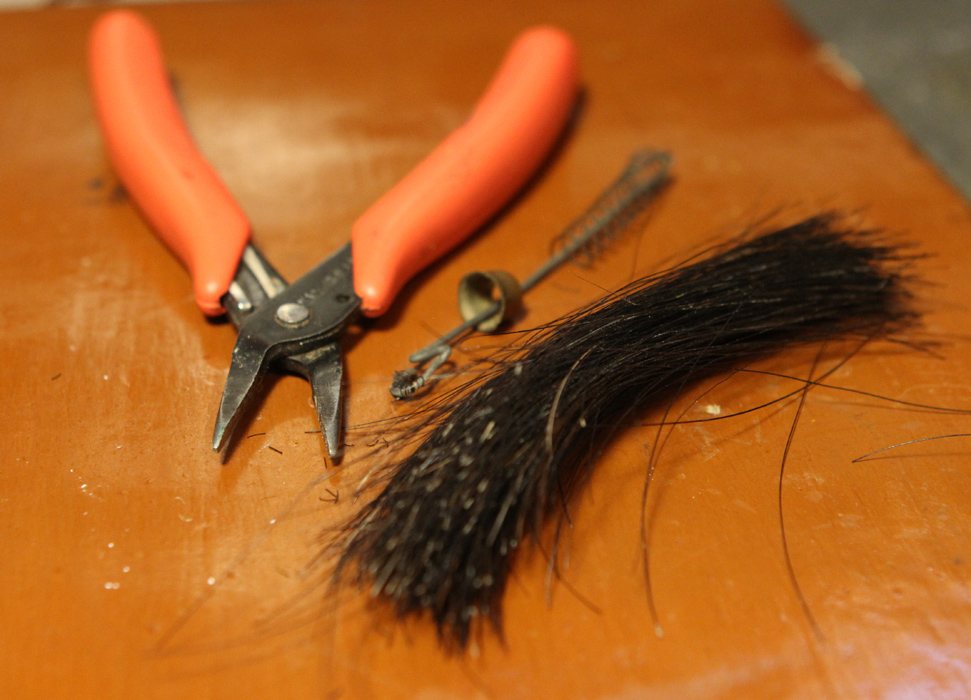 |
| 10. At the hair bunch's center, work it into the rod hoop. This is the hardest part of the process. You will want to get as much hair as you possibly can in the hoop but you will be limited by the size of the hoop and the cup. |
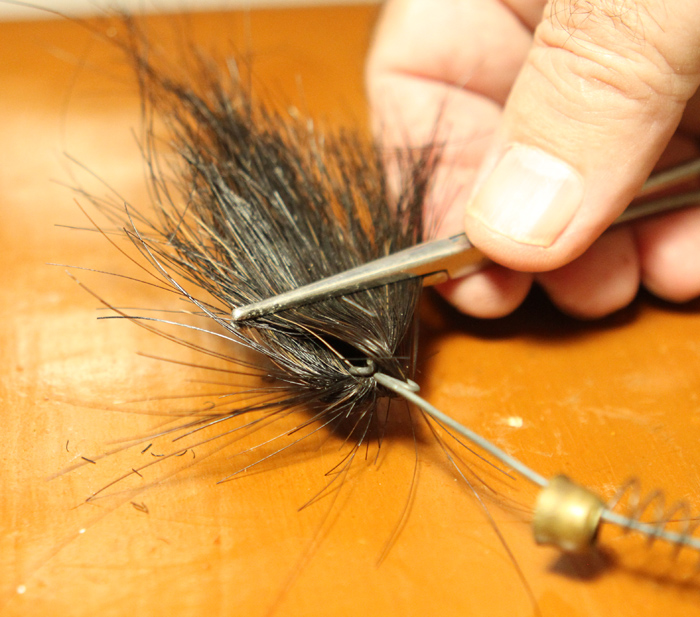 |
| 11. Now work the cup up the the rod hoop until the hair is captured and, using the pliers, reshape the rod tip until the cup is retained and will not slip down the rod. |
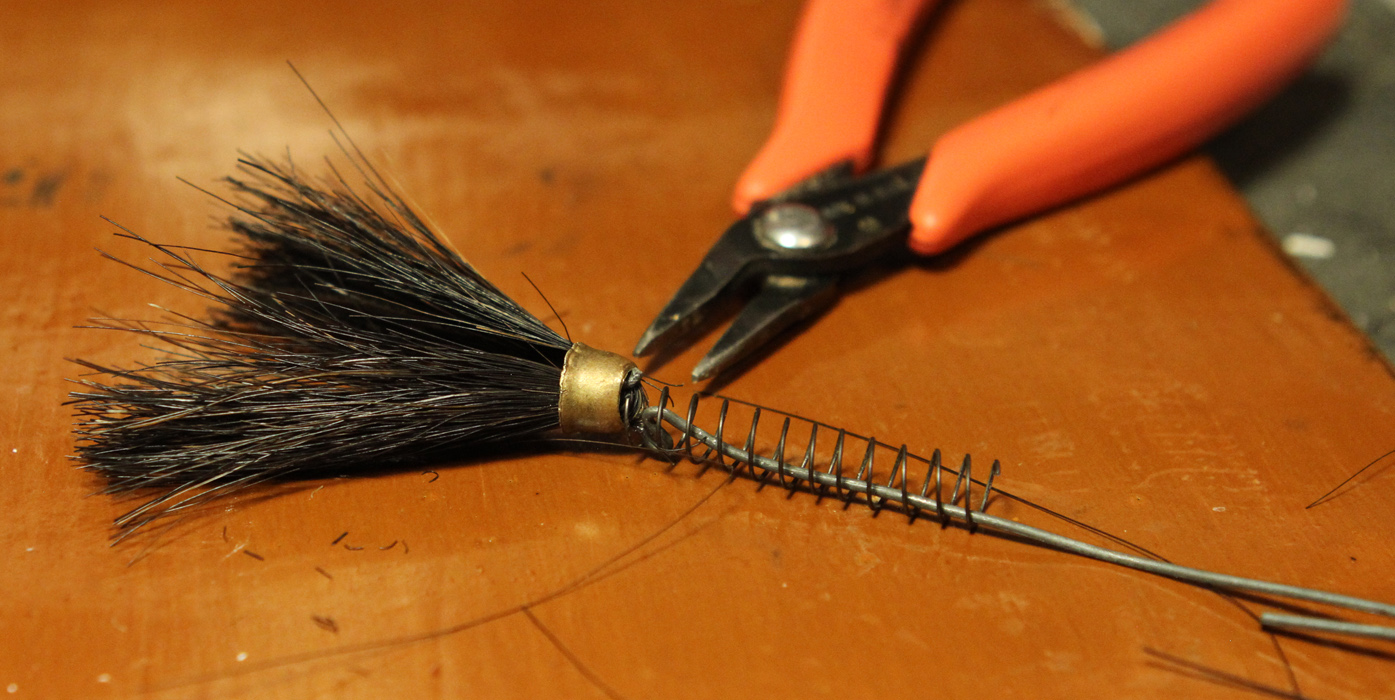 |
| 12. If you have reached this point without too much frustration, insert the mechanism back down Ann's body. |
 |
| 13. Then using the straight hemostat to grab the rod and while pulling on it, hook it over the lever. This is actually easy to do. A flashlight helps. |
 |
| 14. At this point, the Ann will look like this but this is not the look we want. Her hair needs to be coiffed. |
 |
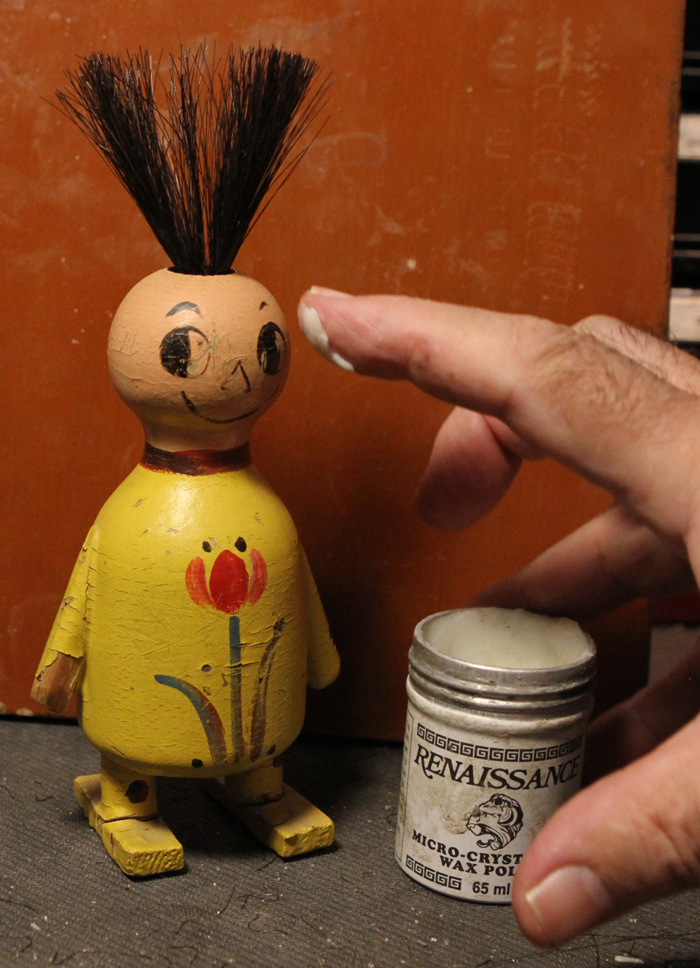
| 15. To protect the doll's paint from possible damage, wax her with museum quality wax. I use Renaissance Wax. After you have finished with her hair, you should buff her body to produce a beautiful looking finish. |
 |
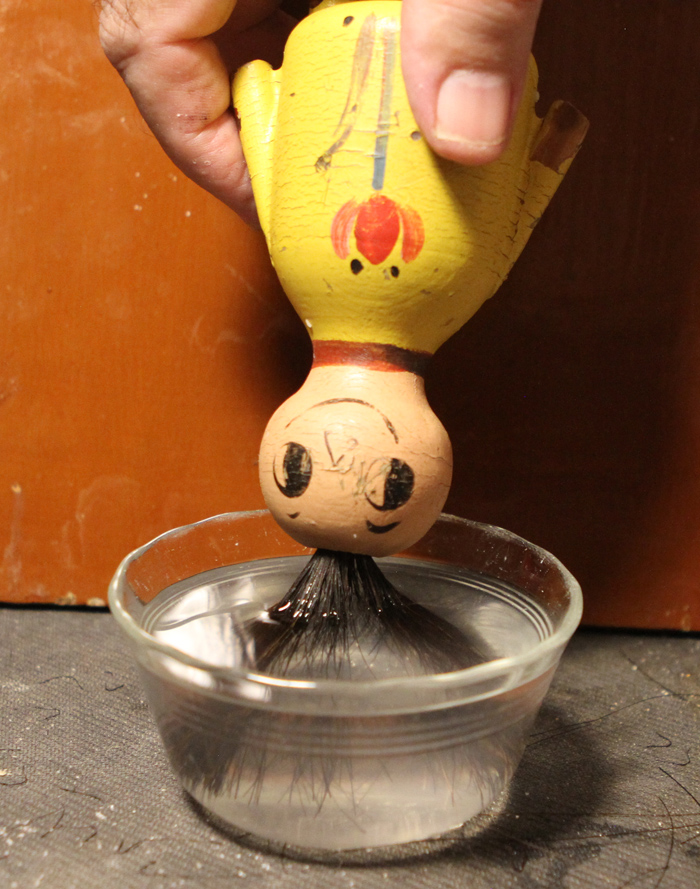
| 16. Prepare a mixture of clean water (distilled is best) with a very small amount of surfactant such as Joy or Woolite. Dip her new hair in the water and hold for about a minute to soften the hair. |
 |
| 17. Spread her wet hair with your finger |
 |
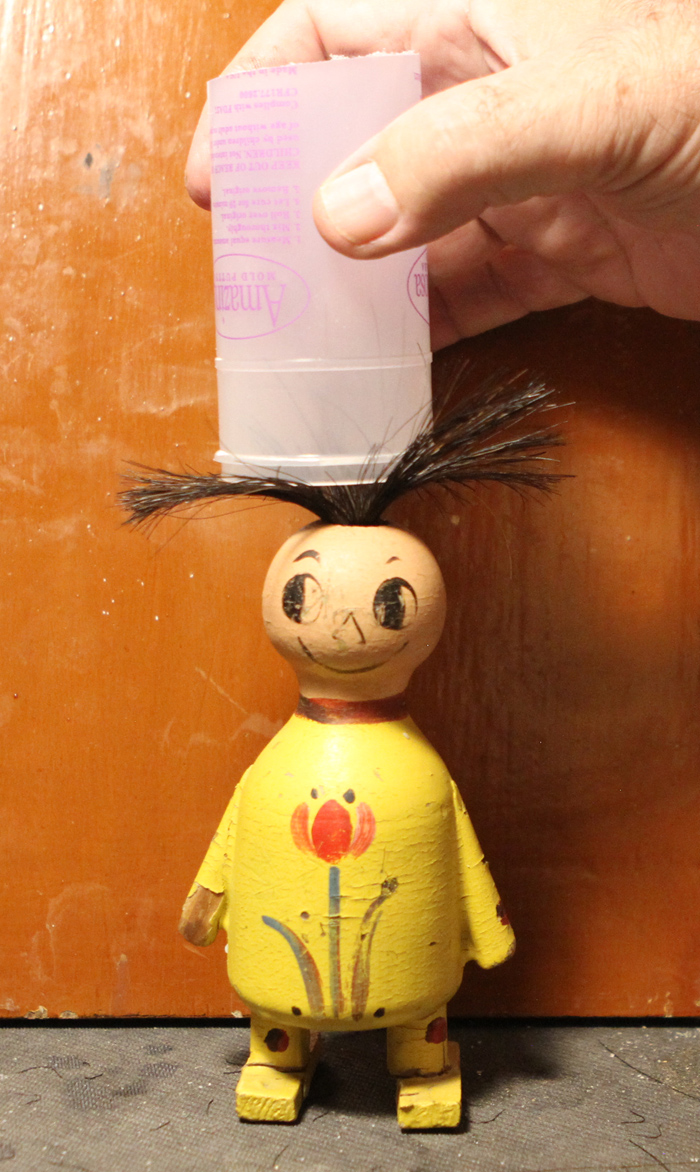
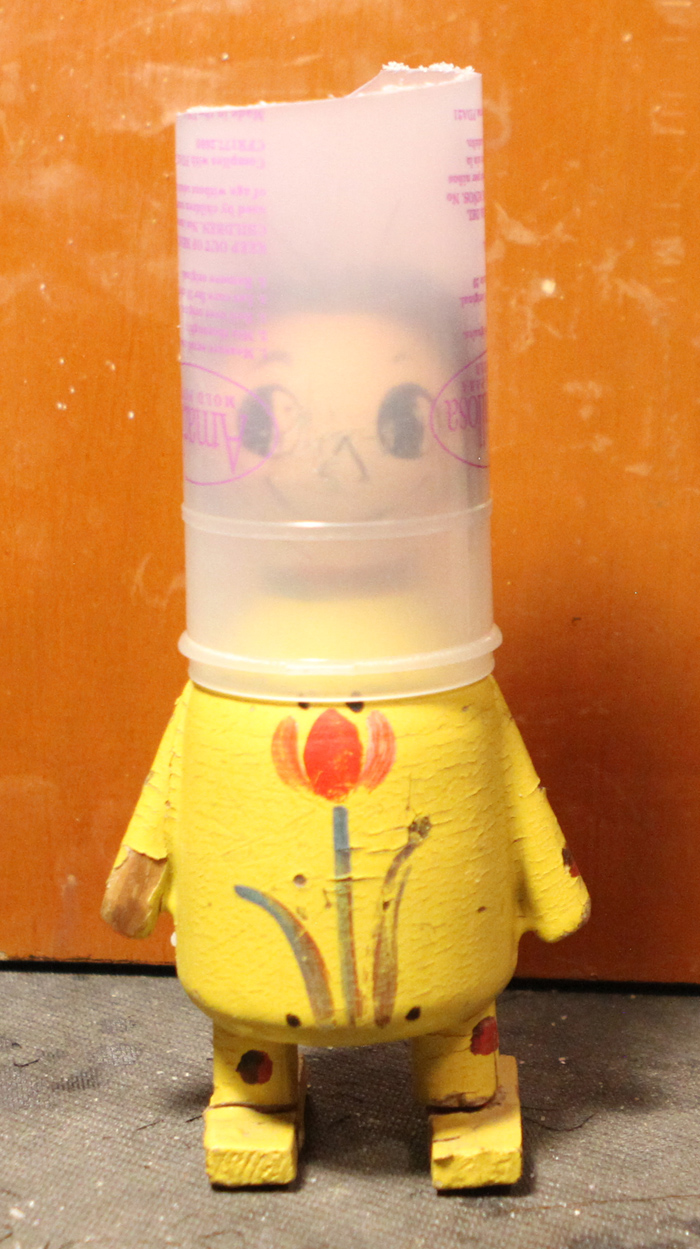
| 18. Now you must press the hair against her head. Here I am using a plastic container that happens to be about the right size. I cut off its bottom to let air circulate. |
 |
| 19. Let her hair dry. |
 |
| 20. When the hair is dry, remove the restraint. The hair should look like this. |
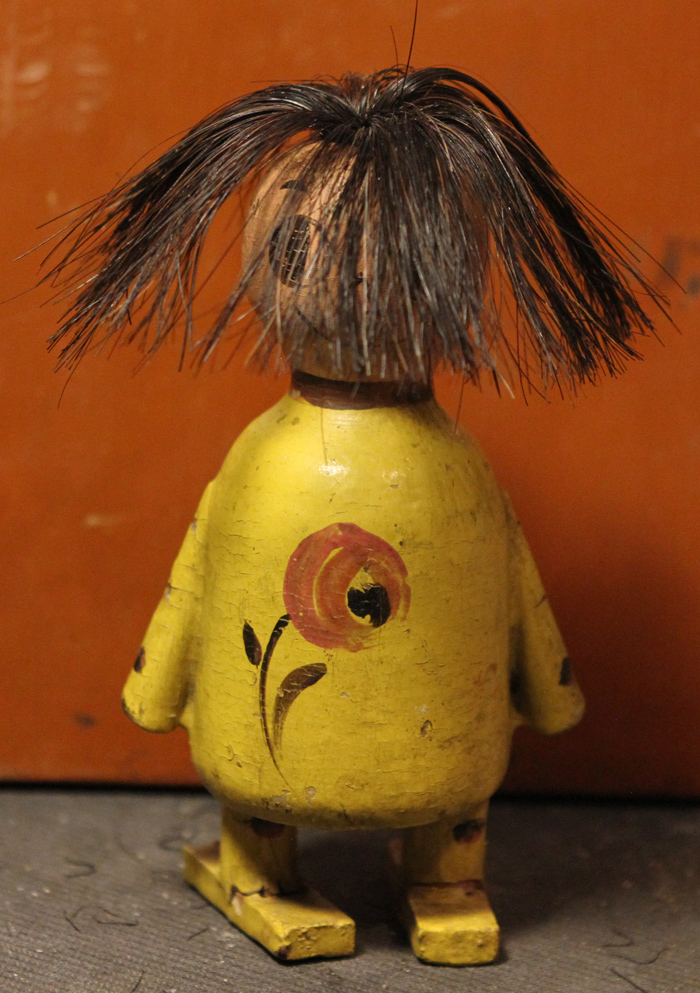 |
| 21. Now trim the hair. Anns were usually coiffed with bangs. |
 |
| 22. There we are. |
 |
| 23. If all has gone well, her hair will lift when the lever is pressed and will return when the lever is released. |
 |
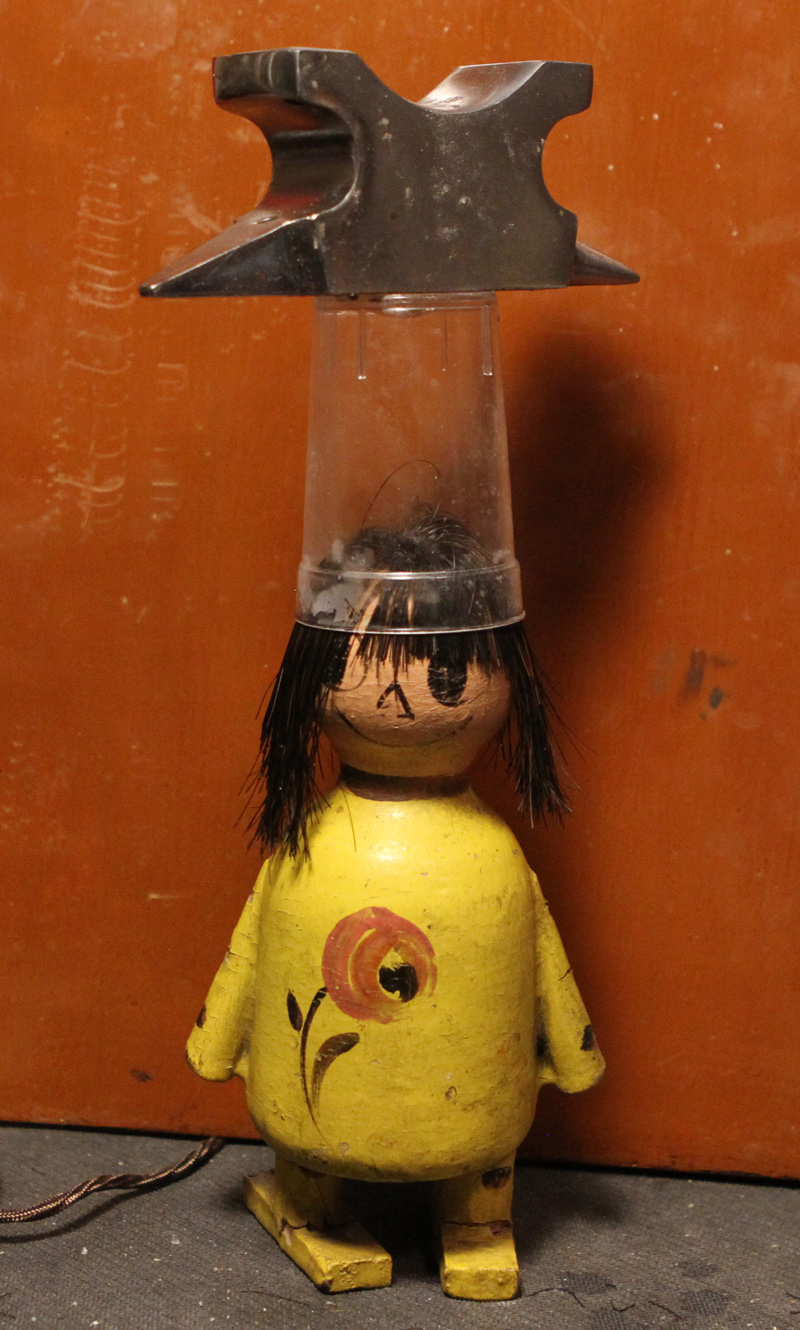
| 24. When you shape the hair, the closer you can get it to
her head, the more dramatic the hair-raising effect will be. Here is
another drying technique.
The hair is wetted and a plastic container's top is placed on the it and a weight is placed on the container's bottom. |
 |